Just Add Sun STEAM Kit Review: Fun Science Experiments
10 min read
1936 words
Have you ever heard of Genius Hour? It’s an approach to learning that gives students dedicated time to explore their own interests, ask questions, and follow their curiosity. In my daughter’s Grade 2 class, Genius Hour sparked an interest in a subject that shines down on all of us: the sun.
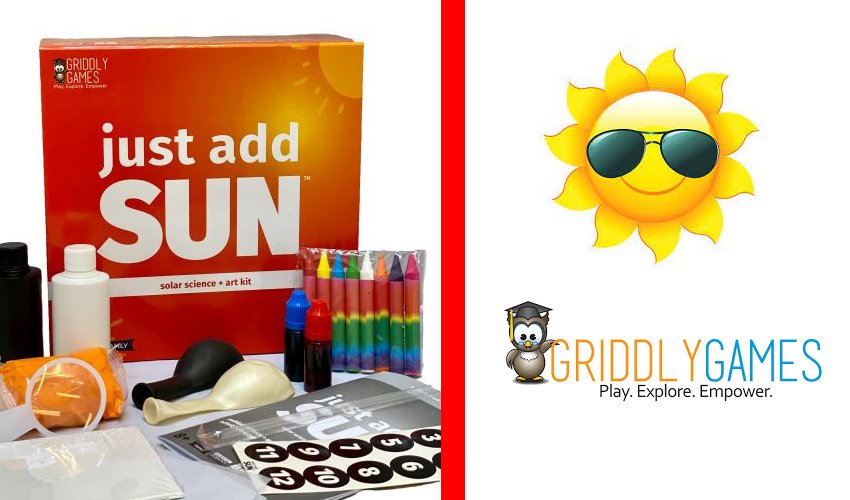
Miss P wanted to find out things like, Where does the sun go at night? and How hot is the sun? To help her explore these questions, I introduced her to the Just Add Sun STEAM Kit from Griddly Games.
The kit includes instructions and tools for hands-on activities that explore the sun’s energy. Through our experiments, we investigated heat, light, reflection, and energy transfer. The activities gave us opportunities to make predictions, observe what happened, and talk about the science behind the results.
If you’re looking for educational activities that encourage children to explore scientific ideas through play, here are some of the experiments we tried together.
1. Melting Ice Experiment: Does Colour Affect How Quickly Ice Melts?
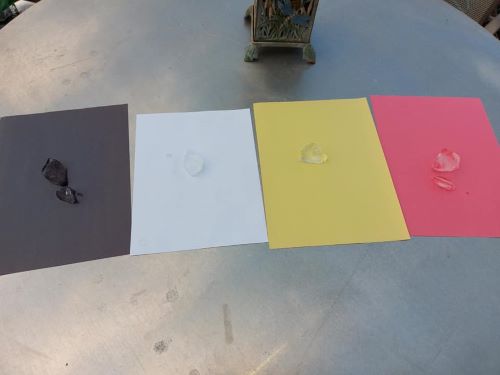
This simple experiment gave Miss P an opportunity to make a prediction and test it.
What You Need
- Four sheets of coloured paper: black, red, yellow, and white
- Four ice cubes of approximately the same size
- A sunny outdoor location
- A timer
How to Do the Experiment
- Place the four sheets of coloured paper side by side in a sunny location.
- Put one ice cube on each sheet.
- Start a timer and check the ice cubes periodically.
- Record which ice cube melts first and which takes the longest.
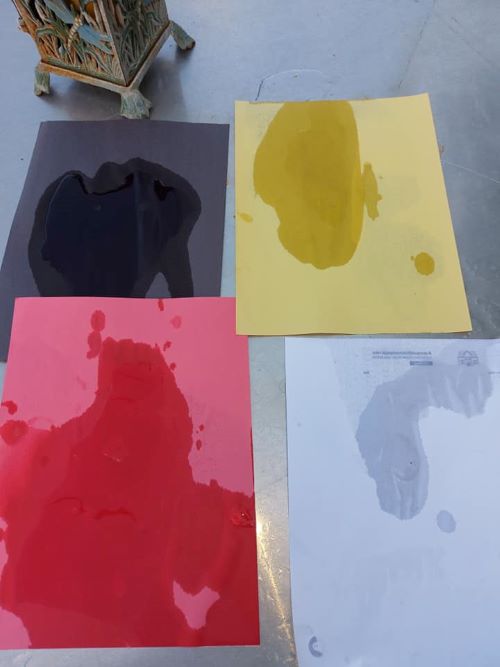
Before we began, Miss P predicted that the ice on the red paper would melt first. However, she soon discovered that the ice on the black paper melted the fastest. That ice cube melted in under five minutes during our experiment.
The Science Behind It
Different colours absorb and reflect sunlight differently. Dark surfaces generally absorb more of the sun’s energy and convert it into heat, while lighter surfaces reflect more incoming light. Under similar conditions, the ice on black paper may therefore melt faster than ice on white paper.
The result can vary depending on the paper, sunlight, wind, and temperature, making this a useful opportunity to discuss why scientists repeat experiments and compare results.
I also used the experiment to ask Miss P a practical question: who did she think would feel cooler in the sunshine, her or me? She was wearing dark blue, while I was wearing a lighter colour. Based on what she had just learned about heat absorption, she chose me!
It was a simple activity, but it gave us a fun way to connect science with everyday life.
2. Melting Ice and Salt Science Experiment
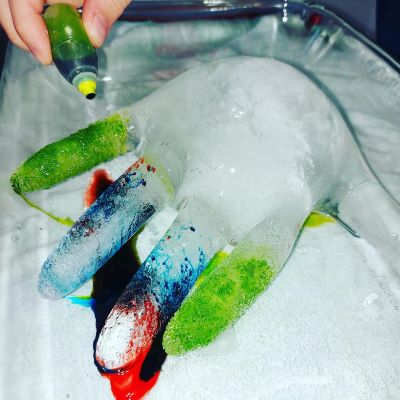
This experiment was another engaging way to explore how salt affects ice. We made an ice hand and watched what happened when we added salt and food colouring.
What You Need
- A disposable glove
- Water
- A freezer
- A shallow dish or tray
- Salt
- Food colouring
How to Do the Experiment
- Fill the glove with water and secure the opening.
- Place it in the freezer overnight until the water is completely frozen.
- Carefully remove the glove from the ice hand and place the frozen hand in a shallow dish.
- Sprinkle salt onto a few fingers and the thumb.
- Add food colouring to some areas so you can see the changes more clearly.
- Observe the ice as it begins to melt. You can add a little more salt to the same areas and watch what happens.
As Miss P added salt, we heard the ice begin to crack and saw tiny channels and craters develop on the surface. When we added more salt, the salted fingers melted more quickly and eventually broke away.
The Science Behind It
Salt lowers the freezing point of water. When salt comes into contact with ice, it helps some of the ice melt at temperatures where pure water would normally remain frozen. The resulting salty water has a lower freezing point than ordinary water.
This principle is one reason salt is used to help melt ice on roads and sidewalks in cold weather.
Miss P enjoyed this activity so much that she asked to repeat it. It was a memorable way to introduce a scientific concept she could connect with the world around her.
3. Mystery Pop Balloon: How Does Sunlight Heat a Black Balloon?
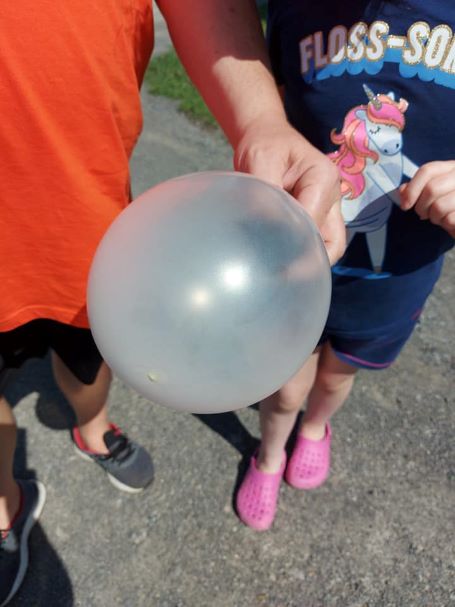
This activity explores how different materials interact with sunlight. In the version described in our original kit instructions, a black balloon is placed inside a clear balloon.
What You Need
- One clear balloon
- One black balloon
- A magnifying glass
- A suitable outdoor location
How the Experiment Works
The black balloon is inflated inside the clear balloon. The kit’s activity uses a magnifying glass to focus sunlight onto the black balloon, concentrating the light on a small area.
Important safety note: Focused sunlight can cause burns, start fires, and seriously damage eyes. I recommend demonstrating this activity only with appropriate adult supervision, following the manufacturer’s safety instructions, and keeping the magnifying glass away from eyes, skin, dry vegetation, and anything flammable. Never leave a magnifying glass unattended in direct sunlight. If the activity cannot be performed safely, skip the balloon-popping step and discuss the science using a safer demonstration.
The Science Behind It
A black surface absorbs much of the visible light that reaches it, converting some of that energy into heat. A clear balloon allows much more light to pass through, so it generally absorbs less of the incoming light at its surface.
When concentrated sunlight heats the black balloon, the rubber can become weaker and the air inside expands as it warms. Under the right conditions, the balloon may burst. The precise result depends on the balloons and experimental conditions, so it is not guaranteed.
Miss P wasn’t as interested in this activity as our neighbour’s three-year-old grandson, who was fascinated by the difference between the black and clear balloons. It was a good reminder that children respond differently to experiments, and sometimes a younger child’s curiosity can surprise you!
4. Baking Soda and Vinegar Balloon Experiment
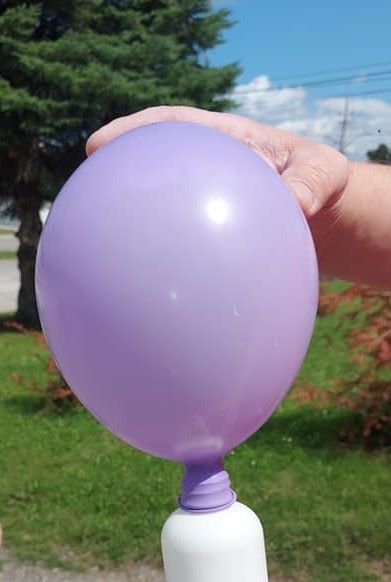
Can you inflate a balloon without blowing into it? This familiar science experiment demonstrates a chemical reaction using two common household ingredients.
What You Need
- A small plastic bottle
- Vinegar
- Baking soda
- A balloon
- A funnel
How to Do the Experiment
- Pour a couple of inches of vinegar into the bottle.
- Using a dry funnel, add a few spoonfuls of baking soda to the balloon.
- Carefully stretch the balloon’s opening over the mouth of the bottle, keeping the baking soda inside the balloon for now.
- Lift the balloon so the baking soda falls into the vinegar.
- Watch as the balloon begins to inflate.
We watched in amazement as the balloon filled with gas. It was an easy way to demonstrate that something invisible can have a very visible effect.
The Science Behind It
When baking soda reacts with vinegar, the reaction produces carbon dioxide gas. The gas takes up space and moves into the balloon, causing it to inflate.
This activity introduces children to chemical reactions and gas production in a way they can see. Use a bottle that is not sealed with a rigid cap, keep the balloon away from faces, and never create pressure in a closed, rigid container.
5. Soda and Candy Balloon Experiment
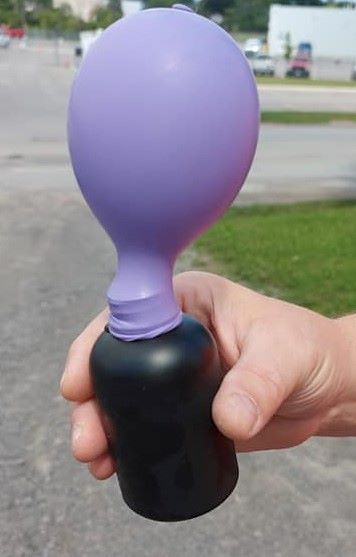
We also tried variations using soda and candy, including Mentos and Pop Rocks. The idea was to see whether releasing the candy into the soda would cause a balloon to inflate.
What You Need
- A small plastic bottle
- Carbonated soda
- A balloon
- A small amount of suitable candy
- A funnel, if needed
How to Do the Experiment
- Pour some soda into the bottle.
- Carefully place the candy inside the balloon.
- Secure the balloon over the bottle opening without dropping the candy into the soda yet.
- Lift the balloon so the candy falls into the bottle.
- Observe what happens.
Results can vary with the type of soda, candy, and setup. Mentos and carbonated soda produce rapid fizzing as carbon dioxide escapes from the liquid. Pop Rocks release gas as they dissolve. These are not the same chemical reaction as baking soda and vinegar, and the balloon may not inflate reliably in every setup.
Use a flexible balloon rather than sealing the bottle with a rigid cap, and keep the setup pointed away from faces. Adult supervision is recommended.
6. Melted Crayon Art: Exploring the Sun’s Heat
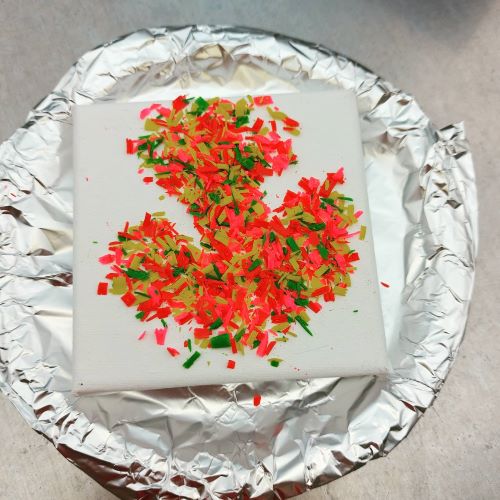
This activity combined art and science. We used the sun’s heat to soften and melt small pieces of crayon, turning a simple canvas into a colourful project.
What You Need
- A small canvas
- Crayon pieces
- A pencil or another suitable tool for making a design
- Aluminium foil
- A plate or tray to protect the surface
How to Do the Experiment
- Break the crayons into small pieces. Smaller pieces may melt more quickly.
- Arrange the pieces on the canvas.
- Place the canvas on a foil-covered tray in a sunny outdoor location.
- Observe the crayons periodically as they soften and melt.
- Once the wax has melted, leave the artwork in a safe place to cool and harden before handling it.
We also tried leaving crayons in a hot car, where they melted after about an hour. This showed us just how hot the inside of a parked vehicle can become on a summer day.
Safety note: Never leave children or pets in a parked vehicle, even briefly. Do not place crayon art on a car dashboard or leave it unattended in a vehicle. For this activity, a supervised outdoor setup is the safer choice. Keep hot wax away from skin and use a tray to catch drips.
The Science Behind It
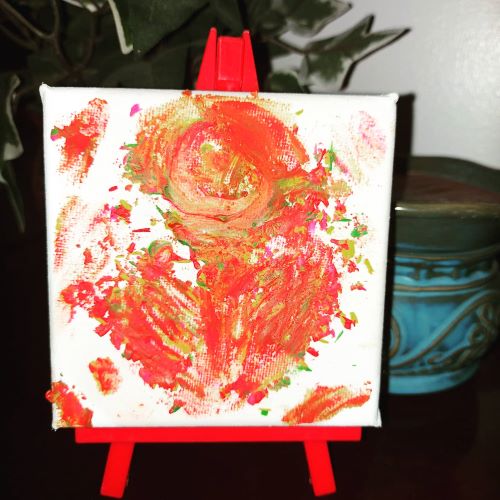
Crayons contain wax that softens when heated and becomes liquid when it reaches its melting range. Sunlight warms the crayons, allowing the wax to flow and create new patterns.
The amount of heat available depends on the strength of the sunlight, the colour of the surface, and the temperature of the surroundings. This activity combines creativity with a practical introduction to heat and changes in materials.
Our Experience with the Just Add Sun STEAM Kit
What I appreciated about these activities was the opportunity to follow Miss P’s questions and let her make predictions before we began. The experiments encouraged her to observe what happened, compare results, and ask more questions.
Not every activity captured her attention in the same way, and that’s perfectly normal. Children have different interests, and part of the fun is discovering which subjects spark their curiosity.
For parents looking for more hands-on educational ideas, you may also enjoy exploring other science and technology products. Read my earlier review of Tech Will Save Us educational STEM toys for another example of learning through making and experimenting.
About Griddly Games
Griddly Games is a Canadian company founded in 2007 by Reisa Schwartzman. The company develops games and activity kits designed to bring families together through play, learning, strategy, and problem-solving.
For current product information and availability, visit the official Griddly Games website.
Final Thoughts
The Just Add Sun STEAM Kit gave us an enjoyable way to explore sunlight, heat, and simple scientific principles through hands-on activities. Some experiments were more engaging to Miss P than others, but each offered an opportunity to ask questions and discover something new.
If your child is curious about the sun, energy, or how everyday materials behave, activities like these can be a starting point for conversations about science. You don’t need to have every answer. Sometimes, making a prediction, trying an experiment, and discussing the results together is the most valuable part of learning.