
5 min read
916 words
There’s a special kind of magic that happens when you see a genuine smile bloom on someone’s face. In the setting of a nursing home, where moments of connection and happiness are so incredibly precious, a simple act of kindness can have a profound impact. One of the most heartwarming and surprisingly easy ways to spark these smiles is by crafting lovely tissue paper flowers. These vibrant creations are more than just pretty decorations; they’re little bursts of color, happiness, and a cozy, welcoming vibe that can truly brighten a resident’s day. In this article, we’ll walk you through a simple guide on how to create gorgeous tissue paper flowers, plus some handy tips on how to share them with the residents and spread that infectious joy.
Gather Your Blooming Supplies
Before you embark on your creative journey to craft these cheerful blooms, ensure you have the following materials readily available. Having everything prepared will make the process smooth and enjoyable, allowing you to focus on the joy of creating:
- Tissue Paper in Various Colors: This is your palette for creating a vibrant garden! Opt for a spectrum of bright, lively shades. Think sunshine yellows, sky blues, rosy pinks, and cheerful greens. The more color, the more joy!
- Scissors: Sharp scissors will make cutting the tissue paper a breeze, ensuring clean edges for your petals.
- Floral Wire or Pipe Cleaners: These will serve as the sturdy stems for your delicate flowers, giving them structure and allowing for easy arrangement.
- Green Floral Tape (Optional): For a more polished and professional look, green floral tape can be used to wrap the wire stems, giving them a realistic appearance.
- A Small Vase or Decorative Container (Optional for Display): To showcase your beautiful creations, having a few small vases or charming decorative containers on hand will elevate your gift and make it ready to be placed in a resident’s room.
Step-by-Step Guide to Crafting Your Tissue Paper Masterpieces
Creating these beautiful flowers is a wonderfully accessible craft, perfect for individuals or groups looking to make a difference. Follow these simple steps and watch your colorful creations come to life:
- Choose Your Vibrant Palette: Begin by selecting a delightful mix of colorful tissue papers. The key here is to embrace bright and lively shades. These colors are known to evoke feelings of happiness and warmth, making your flowers even more impactful. Imagine the joy a resident will feel seeing a splash of their favorite color!
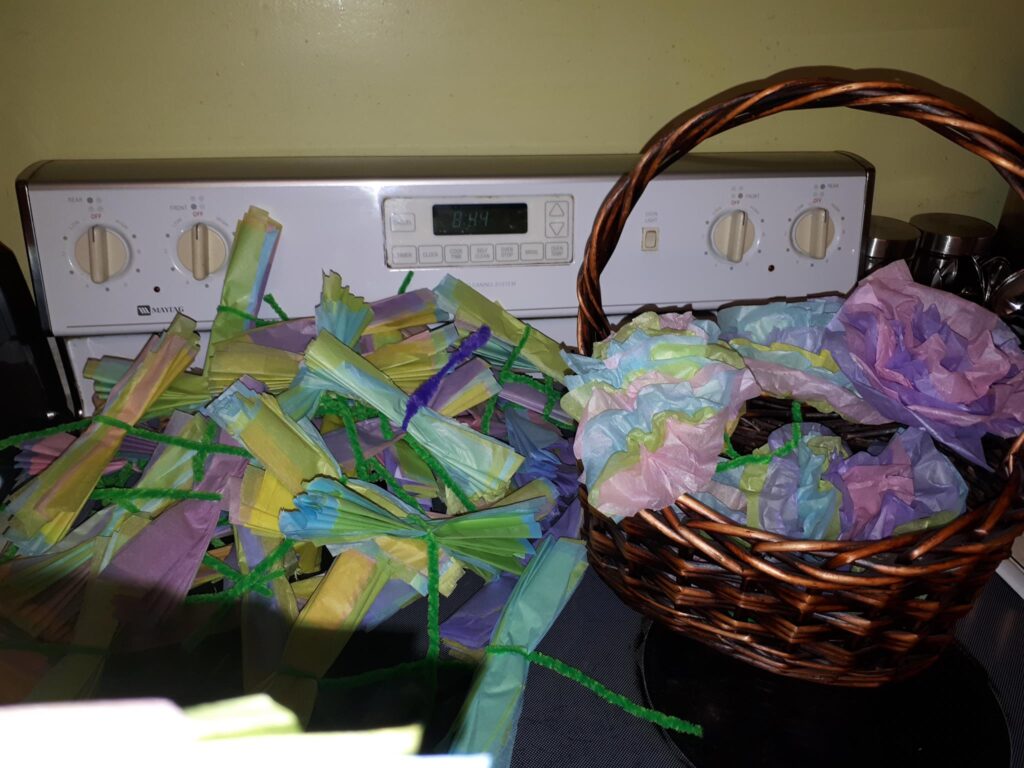
- Cut Your Tissue Paper Layers: Take 6 to 8 sheets of your chosen tissue paper and stack them neatly on top of each other. Using your scissors, carefully cut the stacked layers into rectangles. A good starting size to aim for is approximately 10 inches by 20 inches. However, don’t be afraid to experiment! You can adjust this size based on how large or small you envision your finished flowers to be.
- Accordion Fold Your Paper Stack: Now, it’s time to create the structure for your petals. Starting from one of the shorter edges of your stacked tissue paper, begin folding the paper back and forth in an accordion-like fashion. Aim for folds that are about 1 to 2 inches wide. The more uniform your folds, the more symmetrical your petals will be.
- Secure the Heart of Your Flower: Once your tissue paper is neatly folded, take a piece of floral wire or a pipe cleaner. Wrap it tightly around the exact center of the folded tissue paper. Twist the wire or pipe cleaner a few times to ensure it is securely fastened. This will become the stem of your beautiful flower.
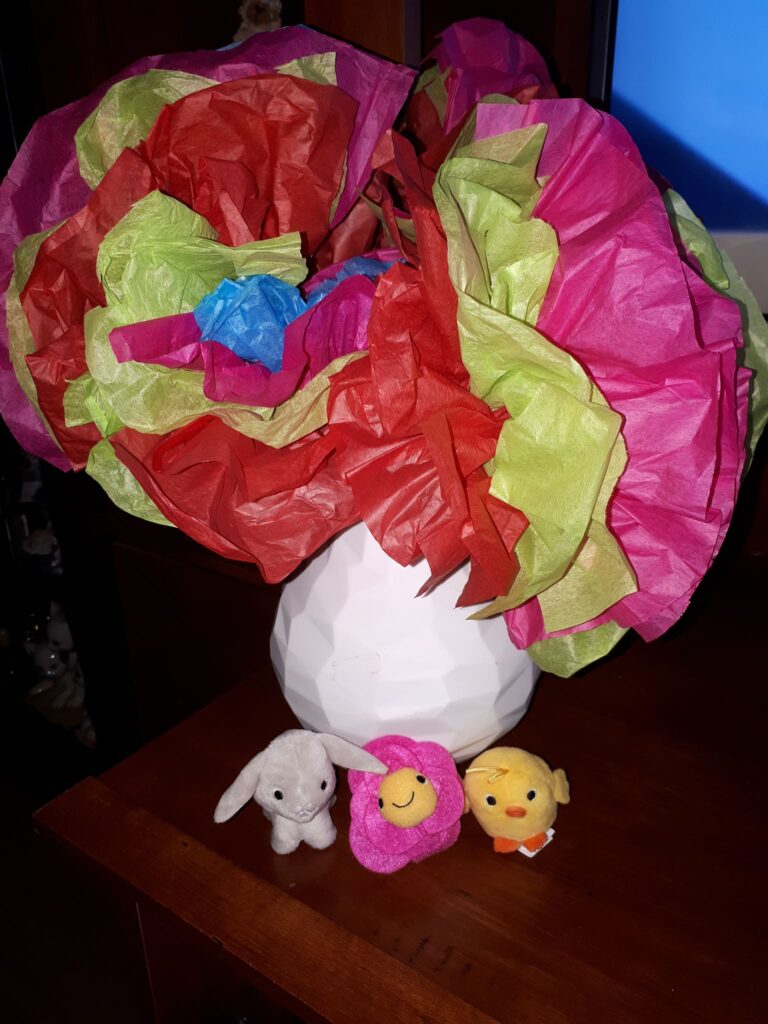
- Gently Unfurl Your Petals: This is where the magic truly happens! Carefully begin to pull apart the layers of tissue paper on either side of the secured wire stem. Start with the very top layer and gently lift it upwards, shaping it into a petal. Continue this process for each subsequent layer, delicately separating and fluffing them until you have a full, beautiful, and fluffy flower.
- Add Some Lush Greenery (Optional): To further enhance the realism and beauty of your flowers, you can add greenery. If you have green floral tape, wrap it around the wire stem, starting from the secured center and working your way down. This gives it a smooth, polished, and realistic appearance. You can also create leaves from green tissue paper. Cut out leaf shapes and attach them to the stem, just as you shaped the flower petals.
- Present Your Blossoms with Care: To truly elevate your tissue paper flowers from a craft to a heartfelt gift, consider placing them in small vases or decorative containers. This adds a personal touch and makes the flowers ready to bring instant cheer to a resident’s bedside table or living space. The presentation matters, and a beautifully arranged bouquet of handmade flowers speaks volumes.
In conclusion, creating and distributing tissue paper flowers is a profoundly heartfelt way to spread joy, foster connection, and remind the wonderful residents of nursing homes that they are cared for and cherished. It’s a simple craft, yes, but its impact is immense. It’s an activity that brings people together, bridging generations and reminding us all of the profound beauty found in giving and the strength of community. So, gather your supplies, unleash your inner artist, and let the vibrant blooms of your creativity bring smiles to those who deserve them most! Your efforts, no matter how small they may seem, have the power to paint a brighter day.
Love different kinds of crafts kit especially when the kids are home for a snow day which we all know is coming
Great idea about the flowers. We actually just donated to a toy drive over the weekend and my girls were totally fine with it. I didn’t know how they would take it cause they are still young to quite understand but it is such a good feeling to give back and keep those toys circulating to someone else.
I really love the flowers and the idea of teaching your children to give.
I love that, when I was younger I made all kinds of paper flowers, it was so much fun and very calming!