How to Build a Raised Garden Bed (Beginner Guide)
8 min read
1486 words
So, you’re ready to transform your backyard into a flourishing garden, but are daunted by poor soil, back pain, or pesky weeds? A raised garden bed is the game-changing solution you’ve been looking for. This comprehensive, step-by-step guide will walk you through how to build a raised garden bed over a single weekend. Whether you’re a total novice or a seasoned gardener looking to upgrade, you’ve come to the right place.
Why Choose a Raised Garden Bed? The Top Benefits
Before we pick up a single tool, let’s explore why raised beds are such a popular choice for gardeners of all levels:
- Complete Soil Control: You get to start fresh with the perfect, nutrient-rich growing mix, completely bypassing any issues with native soil like clay, sand, or compaction.
- Fewer Weeds and Pests: The physical barrier significantly reduces weed intrusion and can deter some common garden pests.
- Easier on Your Body: Elevated planting means less bending, kneeling, and straining your back. This is a crucial benefit for those with mobility challenges.
- Improved Drainage: Excess water drains away more effectively, preventing root rot and waterlogging.
The Bottom Line: This guide will empower you to build a raised bed that not only looks great, but also sets the stage for a bountiful harvest. Let’s get started.
Step 1: Planning Your Raised Bed Location, Size, and Materials
Careful planning is the foundation of a successful raised bed project.
Choosing the Right Location
Your plants need at least 6 to 8 hours of direct sunlight per day. Observe your yard throughout the day to find the sunniest spot. Ensure it’s within easy reach of a water source like a hose and that the ground is relatively level.
Determining the Perfect Size
- Width: Keep it 4 feet or 1.2 meters wide or less. This allows you to comfortably reach the center from either side without stepping into the bed and compacting the soil.
- Height: A minimum of 6 to 12 inches is sufficient for most vegetables. For elderly gardeners or those with back issues, a height of 18 to 24 inches is ideal.
- Length: Length is flexible, for example, 4 feet, 8 feet, or even 10 feet, but longer beds may require internal support to prevent the sides from bowing.
Material Options: Pros and Cons
- Untreated Cedar or Redwood: Naturally rot-resistant and durable. A premium, eco-friendly choice.
- Composite Lumber: Made from recycled plastic and wood fibers. Extremely durable, requires zero maintenance, and won’t rot or splinter.
- Pressure-Treated Wood: Modern pressure-treated lumber is rated safe for vegetable gardens. The treatment chemicals are locked in and not a significant concern for most growers. It’s an affordable and long-lasting option.
- Avoid: Old railroad ties or treated lumber from unknown sources, as they may leach harmful chemicals.
Step 2: Gathering Materials and Tools
Having everything ready makes the build process smooth and efficient.
Shopping List
| Item | Quantity (for a 4×8 ft bed) | Notes |
|---|---|---|
| Lumber | 6 planks (e.g., 2x10s or 2x12s, 8 ft long) | For a 12-inch high bed. Adjust height by plank size. |
| Deck Screws | 1 box (3-inch length is ideal) | Exterior-grade, coated screws resist rust. |
| Corner Braces | 8 (optional) | Metal L-brackets add extra rigidity to corners. |
| Hardware Cloth | 1 roll (4 ft wide) | For the bottom to deter burrowing pests. |
| Landscape Fabric | Optional | Can be used under the hardware cloth. |
| Soil Mix | Approx. 1 cubic yard | A recipe: 60% topsoil, 30% compost, 10% potting mix. |
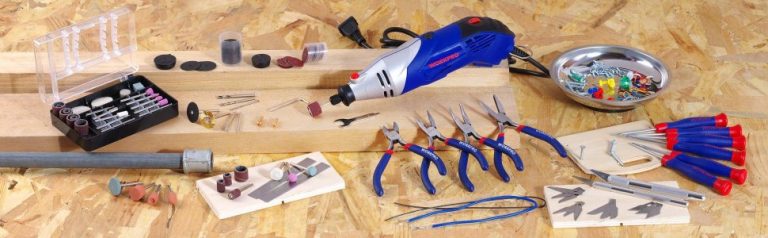
Tools Needed
- Power Drill or Driver
- Tape Measure
- Level
- Circular Saw or ask the hardware store to make your cuts
- Work Gloves and Safety Glasses
Step 3: Step-by-Step Construction Guide
Now we are going to walk you through the steps on how to build a raised garden bed.
- Prep the Site: Clear the area of grass and weeds. Use a spade or sod cutter to remove the top layer, or simply cover the area with cardboard or newspaper to smother the grass as this will become part of your garden! Use a level to ensure the ground is flat.
- Cut the Lumber: If your planks aren’t pre-cut, measure and mark them. For a 4×8 ft bed, you’ll need two 8-foot boards for the sides and four 4-foot boards for the ends and internal supports.
- Assemble the Frame: Lay one 8-foot side plank on the ground. Place a 4-foot end plank perpendicularly at each end, screwing through the long board into the end grain with at least 2 to 3 deck screws. Repeat for the other 8-foot side. For added strength, attach metal corner braces inside each corner. For beds over 6 feet long, add a center support by placing a 4-foot brace across the middle.
- Position and Level: Move your assembled frame into its final location. Use a long level to check that it’s perfectly level in all directions. Adjust by adding or removing soil beneath the frame until it sits flat. A level bed ensures even water distribution.
- Install the Base (Highly Recommended): Staple hardware cloth to the inside bottom edge of the frame. This creates a sturdy barrier against gophers and voles while allowing earthworms to pass through. For complete weed suppression, lay down landscape fabric first.
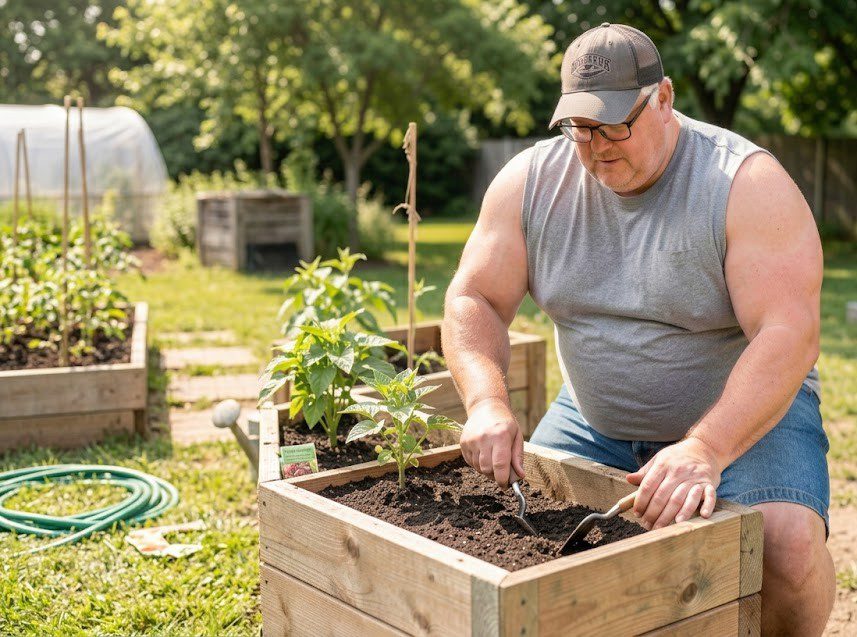
Step 4: Filling Your Raised Bed The Secret to Success
Don’t just fill your bed with generic garden soil! The right mix is crucial.
- The “Lasagna Gardening” Method (Optional): Before adding soil, you can place a layer of cardboard on the bottom to smother any remaining grass or weeds. This layer will decompose over time.
- The Perfect Soil Recipe: A raised bed needs a light, fluffy, and fertile mix. Aim for this ratio:
- 60% High-Quality Topsoil: The bulk of your mix.
- 30% Compost: Provides essential nutrients and beneficial microbes. Use a mix of composted manure and plant-based compost.
- 10% Potting Mix or Peat Moss: Improves drainage and aeration.
Mix these components thoroughly in a wheelbarrow or directly in the bed before planting.
Designing Your Raised Bed Space: 2026 Garden Ideas

Now that you have learned how to build a raised garden bed, filled it with healthy soil, it is time to have fun with your layout. Many gardeners this year are moving away from rows and toward modern, efficient designs.
- Implement Botanical Bento Layouts: Instead of planting a single crop, create mini bento sections within your raised bed by mixing edible plants like dwarf blueberries or kale with flowers such as marigolds to save space and add beauty.
- Design for Barkitecture: If you have a dog, keep your raised beds at a height where they are protected from playful running, or use the exterior of your raised beds to plant non-toxic, durable greenery that can handle a bit of activity.
- Utilize Chaos Gardening Seeds: For beginners using your new raised beds, the chaos gardening method is scattering a mix of herb and flower seeds across the bed to grow naturally as a low-stress way to fill the soil after the initial build.
- Maximize Space with Vertical Growth: Even in a raised bed, install a small trellis on one side to grow climbing plants like jasmine or beans, which adds height and maximizes your harvest without needing extra ground space.
- Create Garden Rooms: If you are building multiple raised beds, arrange them to define a room or outdoor area, perhaps placing a small seating spot between the beds to create a sense of discovery and intentional design in your backyard.
Frequently Asked Questions (FAQ)
How long do wooden raised beds last?
Untreated cedar or redwood can last 10 to 15 years. Pressure-treated wood and composite materials can last 20 years or more. Pine is a budget option but may only last 3 to 7 years.
Can I build a raised bed on concrete or patio?
Absolutely! This is a great option for balconies and driveways. Ensure you have adequate drainage holes and use a deep bed at least 12 inches for root crops.
Do I need to treat the wood?
With naturally rot-resistant woods like cedar or with composite lumber, no treatment is needed. If using pine, you can use a plant-based linseed oil, but expect a shorter lifespan.
What are the best vegetables for raised beds?
Raised beds excel for almost everything! Leafy greens like lettuce and spinach, root vegetables like carrots and radishes, tomatoes, peppers, herbs, and bush beans are all fantastic choices.
Conclusion and Pro-Tips
You’ve learned how to build a raised garden bed! You’ve built a foundation for a healthier, more productive, and more enjoyable gardening experience. The hardest part is over.
Final Pro-Tips:
- Irrigation: Install a simple soaker hose or drip irrigation system on a timer. Water deeply at the base of plants to promote strong roots and save water.
- Mulch: After planting, add a 2 to 3 inch layer of straw or wood chip mulch. This conserves moisture, suppresses weeds, and regulates soil temperature.
Now it’s your turn! Grab your tools, pick your perfect spot, and start building. Have you built your first garden bed? We’d love to hear about your project or see your photos, share them with us in the comments below! Happy gardening