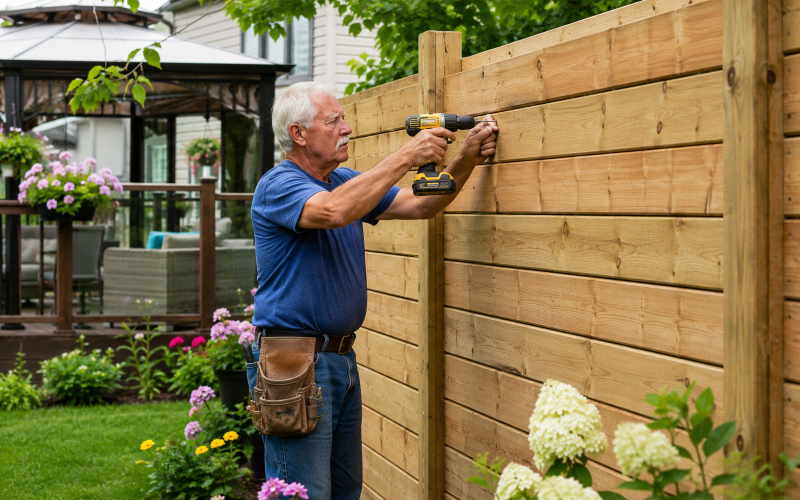
How to Build a Backyard Privacy Wall: Your Backyard Guide
10 min read
1887 words
In an era where our homes are our sanctuaries, the backyard has become more than just a plot of grass. It’s an extension of our living space. However, as residential density increases, finding true solitude in your own yard can be a challenge. Learning how to build a backyard privacy wall is one of the most effective ways to reclaim your outdoor space, turning an exposed patio or deck into a secluded, peaceful retreat.
Whether you are looking to block the view of a nearby neighbor’s kitchen window or simply want to create a cozy nook for your morning coffee, a DIY backyard privacy wall is a rewarding project that balances function with curb appeal.
Why Add a Backyard Privacy Wall?
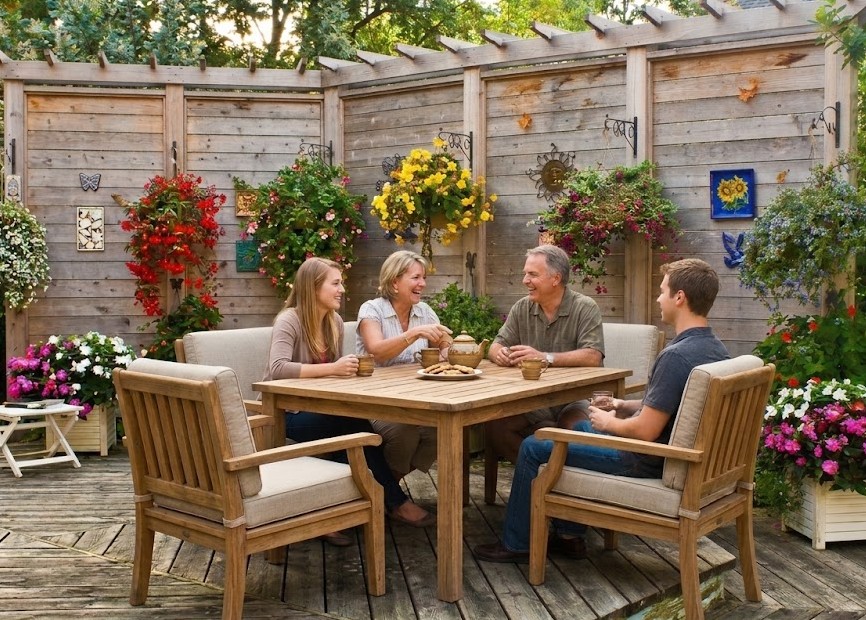
- Create a Private Retreat: Define your outdoor living area and separate it from the rest of the yard.
- Block Unwanted Views: Eliminate visual clutter such as trash cans, busy streets, or neighboring yards.
- Reduce Wind and Sun: A solid wall acts as a windbreak and provides necessary shade during peak afternoon hours.
- Increase Curb Appeal: A modern privacy wall serves as a focal point, adding architectural interest to your landscape.
- Separate Spaces: Use walls to distinguish between a fire pit zone, a dining area, and a garden.
Tools You’ll Need
Before beginning your project, gather the right tools to make installation easier and safer.
- Tape measure
- Post hole digger or power auger
- Shovel
- Level
- Circular saw or mitre saw
- Drill and driver
- Hammer
- Wheelbarrow or mixing tub
- Safety glasses
- Work gloves
- Hearing protection
Materials You’ll Need
Most backyard privacy walls require:
- Pressure-treated 4×4 posts
- Pressure-treated 2×4 framing
- Cedar fence boards, composite boards, or decorative privacy panels
- Concrete mix
- Gravel
- Exterior-grade deck screws
- Exterior paint or stain
- Optional post caps and decorative trim
Project Time and Difficulty
Skill Level: Intermediate DIY
Estimated Time
- Planning: 2–3 hours
- Construction: 1 day
- Concrete curing: 24–48 hours
- Painting or staining: 1 day
Most homeowners can complete this project over a weekend.
Estimated Cost
Your budget depends on the materials you choose and the size of your wall.
| Material | Approximate Cost (CAD) |
|---|---|
| Pressure-treated wood | $30–$55 per linear foot |
| Cedar | $45–$80 per linear foot |
| Composite | $90–$160 per linear foot |
| Decorative metal panels | $120–$300 per panel |
A typical 8-foot privacy wall generally costs between $400 and $1,200 CAD.
Check Local Building Rules Before You Start
Before you buy materials, take a moment to do your homework. Ignoring local regulations can lead to costly fines or forced removal.
- Property Lines: Never build directly on the property line without a survey. Stay well within your boundaries.
- Height Regulations: Many municipalities have strict height limits for structures, often around 6 feet.
- Building Permits: Determine if your local municipality requires a permit for structures over a certain height.
- HOA Restrictions: If you live in a homeowners association, review any rules regarding materials, colours, and placement.
- Utility Locating: Contact your local utility locating service before digging any post holes.
Choosing the Best Location
Strategic placement is key to efficiency. Consider the following:
- Patio Privacy: Build the wall perpendicular to your home to block views from neighbouring side windows.
- Hot Tub or Pool: Place walls to create a greater sense of enclosure.
- Second-Story Blocking: If you need to block views from above, consider combining a privacy wall with a pergola or tall trellis covered in climbing plants.
Best Materials for a Backyard Privacy Wall
Wood
The classic choice. Cedar and redwood are naturally rot-resistant.
Pros
- Beautiful natural appearance
- Easy to customize
- Can be painted or stained
Cons
- Requires periodic maintenance
- Needs staining or sealing every few years
Composite
Made from recycled wood fibres and plastic.
Pros
- Low maintenance
- Won’t require painting
- Resistant to rot and insects
Cons
- Higher upfront cost
Metal
Corrugated steel or powder-coated aluminum creates a sleek, contemporary look.
Pros
- Extremely durable
- Modern appearance
- Minimal maintenance
Cons
- Can become hot in direct sunlight
Decorative Panels
Laser-cut metal or resin privacy screens provide style while allowing airflow.
These panels work well as accents or focal points and are available in many decorative patterns.
Canadian Climate Considerations
If you live in a region with freezing winters, take additional precautions.
- Dig post holes below the local frost line.
- Use pressure-treated lumber rated for ground contact.
- Install galvanized or stainless-steel fasteners to prevent rust.
- Apply a weather-resistant stain or sealant to protect against snow, rain, and UV rays.
- Inspect the wall each spring for movement caused by freeze-thaw cycles.
How to Build a Backyard Privacy Wall: Step-by-Step
Step 1: Plan Your Design
Sketch your layout. Decide if you want a solid wall for total blockage or a slatted design for improved airflow. Measure carefully to ensure your wall fits the available space and complements your home’s architecture.
Step 2: Mark Post Locations
Use stakes and string to mark exactly where your posts will go. A standard spacing is 6 to 8 feet apart, depending on the materials and overall design.
Step 3: Dig Post Holes
Use a post hole digger or auger to dig holes at least one-third of the post length into the ground. In colder climates, dig below the frost line for greater stability.
Step 4: Set the Posts
Set your pressure-treated 4×4 posts in the holes. Add a few inches of gravel to improve drainage before pouring concrete. Use a level to ensure each post is perfectly plumb, then allow the concrete to cure for at least 24 to 48 hours.
Step 5: Install Framing
Attach pressure-treated 2×4 horizontal supports between your posts using exterior-grade deck screws. Double-check that everything is level before securing the framing permanently.
Step 6: Attach Panels or Boards
Nail or screw your chosen material, such as cedar boards, composite panels, metal panels, or lattice, to the frame. Leave a small gap between wooden boards to allow for seasonal expansion and contraction.
Step 7: Add Trim
Finish the edges with trim boards to hide exposed screws and rough edges while giving your privacy wall a clean, professional appearance.
Step 8: Paint or Stain
Protect your investment by applying a high-quality exterior stain or paint designed to withstand moisture and UV exposure.
Step 9: Landscape Around the Wall
Complete the project by planting ornamental grasses, shrubs, climbing vines, or colourful perennials around the base of the wall to soften its appearance and blend it into your landscape.
Backyard Privacy Wall Design Ideas
Looking for inspiration? Consider one of these popular privacy wall styles.
- Horizontal Cedar Slats: Clean lines create a modern backyard.
- Decorative Metal Panels: Add contemporary style while allowing airflow.
- Lattice with Climbing Vines: Perfect for cottage or traditional gardens.
- Planter Privacy Wall: Combine raised planters with wood panels.
- Mixed Materials: Blend wood, stone, and metal for a custom look.
- Built-In Lighting: Install LED accent lighting for nighttime entertaining.
Budget-Friendly Ideas
Don’t want to break the bank? Try these affordable alternatives.
- Pallets: Clean, heat-treated pallets can be repurposed into rustic privacy walls or vertical gardens.
- Lattice: An inexpensive option that supports climbing plants while providing partial privacy.
- Outdoor Fabric Curtains: Install weather-resistant curtains between posts for flexible privacy.
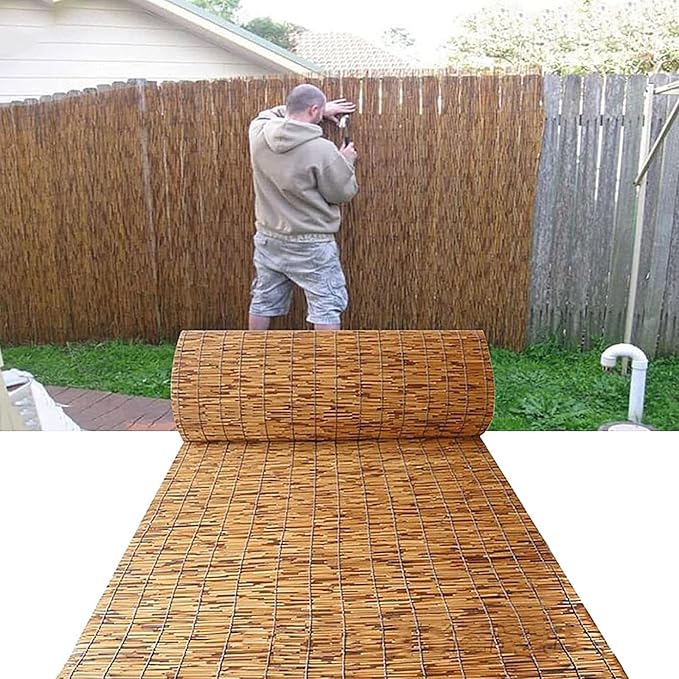
- Bamboo Screens: Roll-up bamboo fencing offers an affordable natural appearance.
- Potted Plants: Arrange tall ornamental grasses or evergreen shrubs in large containers to create a living privacy screen.
Safety Tips
- Always wear safety glasses and hearing protection when using power tools.
- Wear gloves when handling pressure-treated lumber.
- Call your local utility locating service before digging.
- Have someone help lift and position heavy posts.
- Use ladders only on stable, level ground.
- Follow all manufacturer instructions for power tools and fasteners.
Common DIY Mistakes to Avoid
- Ignoring Wind Load: If you live in a windy area, include small gaps between slats so the wall doesn’t act like a sail.
- Poor Drainage: Place gravel beneath each post before pouring concrete to reduce moisture buildup.
- Skipping Hardware Grade: Always use stainless steel or hot-dipped galvanized screws to prevent rust.
- Not Checking for Level: Verify each post is level before the concrete sets.
- Rushing the Cure Time: Allow concrete to fully cure before attaching heavy panels.
Backyard Privacy Wall Maintenance
Routine maintenance will help keep your backyard privacy wall looking attractive and extend its lifespan for many years.
Wood Privacy Walls
- Pressure wash or scrub annually to remove dirt, mildew, and algae.
- Inspect for loose boards, cracked lumber, and signs of insect damage.
- Apply a quality exterior stain or sealant every two to three years to protect against moisture and UV damage.
- Trim nearby shrubs and vines to improve airflow and reduce moisture buildup.
Composite Privacy Walls
- Wash occasionally with mild soap and water.
- Remove leaves and debris that collect around the base.
- Inspect mounting hardware each season to ensure everything remains secure.
Metal Privacy Walls
- Clean periodically using water and a mild detergent.
- Inspect painted surfaces for scratches that could expose bare metal.
- Tighten any loose fasteners if needed.
Does a Backyard Privacy Wall Increase Home Value?
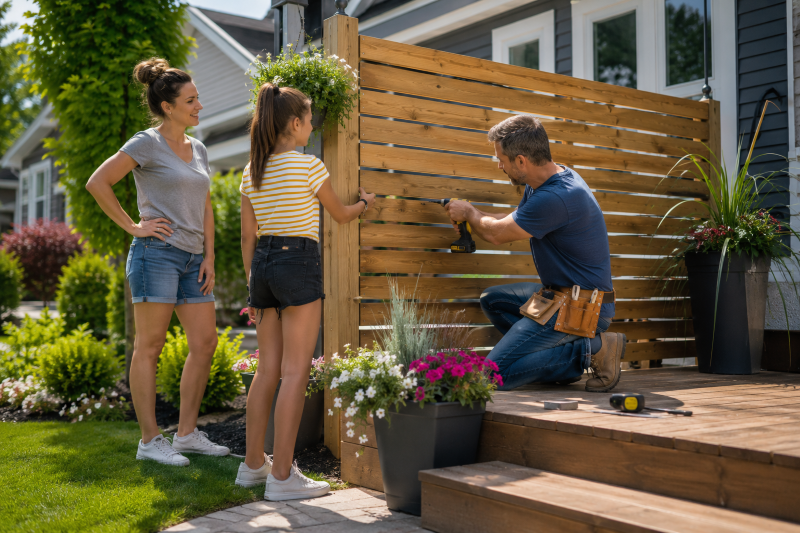
A professionally built backyard privacy wall can improve both the appearance and functionality of your outdoor living space. While it may not dramatically increase your home’s resale value on its own, buyers often appreciate private outdoor areas that are ready for entertaining and relaxing. Choosing quality materials and a design that complements your home’s architecture can also enhance curb appeal.
Frequently Asked Questions
How tall should a privacy wall be?
Usually, 6 feet is the standard height for effective privacy, but always check your local building codes before construction.
Can I build a privacy wall without concrete?
Yes. Smaller, non-load-bearing privacy screens can sometimes use metal post anchors. However, concrete footings are recommended for taller or heavier walls to prevent leaning over time.
What is the cheapest way to create backyard privacy?
Using lattice panels combined with fast-growing climbing vines is generally the most affordable solution. Repurposed pallets and bamboo screening can also reduce costs.
How deep should privacy wall posts be?
A general rule is to bury one-third of the post length. In colder climates, posts should extend below the local frost line to prevent movement caused by freeze-thaw cycles.
Can I build a privacy wall on my deck?
Yes, provided your deck is structurally sound. Reinforced post brackets are commonly used, but always verify your deck can safely support the additional weight and wind load.
What is the best wood for a backyard privacy wall?
Cedar is a popular choice because it naturally resists rot and insects while providing an attractive appearance. Pressure-treated lumber offers a more affordable alternative and can last for many years with proper maintenance.
Can I attach a privacy wall to an existing fence?
In many cases, yes. However, the existing fence must be structurally sound and capable of supporting the added weight. Reinforcement may be necessary before installation.
Conclusion
Building a backyard privacy wall is more than just a home improvement project; it’s an investment in your comfort, privacy, and outdoor lifestyle. Whether you choose natural cedar, low-maintenance composite, decorative metal panels, or a combination of materials, careful planning and quality construction will provide years of enjoyment.
By selecting the right location, following local building regulations, using durable materials, and performing routine maintenance, you can create a stylish outdoor retreat that enhances both your backyard and your home’s curb appeal. Once your privacy wall is complete, finish the space with comfortable patio furniture, outdoor lighting, and landscaping to create a relaxing oasis you’ll enjoy throughout every season.