8 min read
1417 words
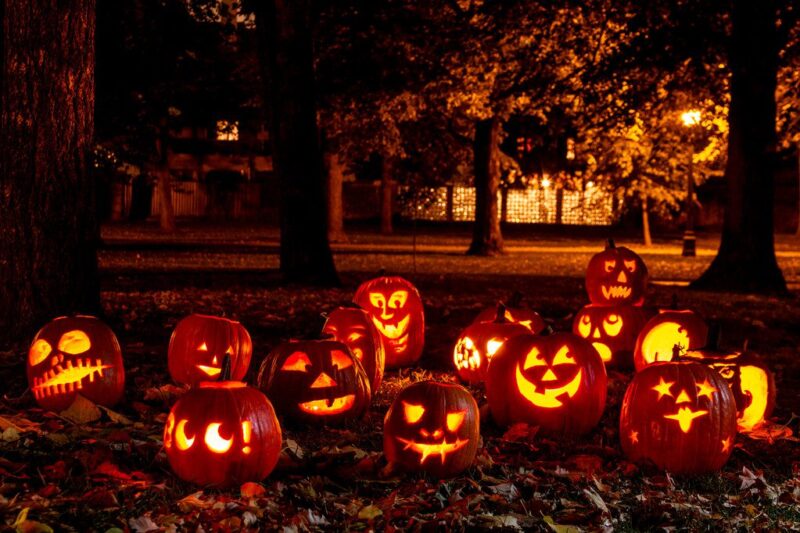
The moment the calendar flips to October, the anticipation builds. Home exteriors transform into autumnal landscapes, culminating in the display of meticulously chosen and often painstakingly carved pumpkins. These masterpieces are the hallmark of the season. But there is an enemy lurking in the crisp autumn air: decay. Within days of carving, the vibrant orange flesh starts to wither, mold spots appear, and the cheerful grin of your jack-o’-lantern often collapses into a droopy frown. While many commercial sprays promise extended life, the most powerful, economical, and natural preservative often sits right in your pantry: white distilled vinegar.
Used correctly, vinegar addresses the three main threats to your fall decorations—bacteria, fungus, and hungry critters—ensuring your pumpkins stay festive, firm, and frightening for far longer than usual. This informational guide breaks down the science behind vinegar preservation and provides step-by-step protocols for treating both whole and carved pumpkins.
The Science of Spoilage: Why Pumpkins Rot So Fast
To understand why vinegar is so effective, we must first understand the process of decay. Pumpkins, like any fruit, are composed primarily of water, sugars, and cellulose. Once the protective outer skin (the rind) is compromised—either through harvesting damage or, more dramatically, through carving—the internal flesh becomes exposed to two primary threats:
- Microbial Activity (Mold and Bacteria): The sweet, moist interior of a pumpkin is a perfect breeding ground for airborne fungi and bacteria. These organisms metabolize the sugars and moisture, resulting in the fuzzy, discolored mold and the slimy, wet rot that rapidly breaks down the cellular structure.
- Dehydration: When the interior is exposed, the pumpkin attempts to heal the “wound” by drying out. While dehydration itself isn’t the primary cause of rot, the exposed, dying cells are the easiest entry point for microorganisms.
- Oxidation: Exposure to air causes the starches and sugars near the surface to brown, accelerating the visual decline.
Vinegar is a dilution of acetic acid, a potent short-chain fatty acid. When applied to the pumpkin surface, the acetic acid drastically lowers the pH level. Most common fungi and bacteria that cause pumpkin rot thrive in neutral pH environments. By making the environment highly acidic, vinegar effectively kills existing surface microbes and prevents new ones from establishing themselves, dramatically slowing the rate of decomposition.
Pre-Treatment Protocol: Bathing Your Whole Pumpkin
Even before you decide to carve, treating the exterior of a whole pumpkin is a crucial first step in longevity. The rind, while tough, harbors molds and spores picked up in the field or during transport. A quick, thorough soak cleans the surface and establishes a protective, slightly acidic barrier.
This treatment is essential for any decorations, whether they are destined to be jack-o’-lanterns or simply remain decorative gourds on the porch.
The Whole Pumpkin Soak Solution (The 1:10 Ratio)
For whole, uncarved pumpkins, the solution should be potent enough to clean the surface but gentle enough not to cause bleaching or damage to the natural pigments.
The Recipe:
- 1 part white distilled vinegar.
- 10 parts water.
(Example: For a large tub, use 1 gallon of vinegar mixed with 10 gallons of water.)
Step-by-Step Soaking Instructions:
- Clean the Surface: Before soaking, gently wipe down the pumpkin exterior with a dry cloth or soft brush to remove any caked-on mud, debris, or residual dirt from the field. Do not scrub so hard that you scratch the skin.
- Prepare the Bath: Fill a tub, large bucket, or sink with the 1:10 vinegar and water solution. Be sure the container is large enough to fully submerge the pumpkin.
- Submerge and Soak: Place the whole pumpkin into the solution. Ensure it is completely covered, paying close attention to the stem and base where spores often accumulate. Allow the pumpkin to soak for 15 to 30 minutes.
- Dry Thoroughly: Remove the pumpkin and allow it to air dry completely. Do not rinse the solution off; the thin film of vinegar residue is what creates the protective barrier. The mild smell will dissipate quickly as it dries.
- Placement: Once dry, the pumpkin is ready for display or carving.
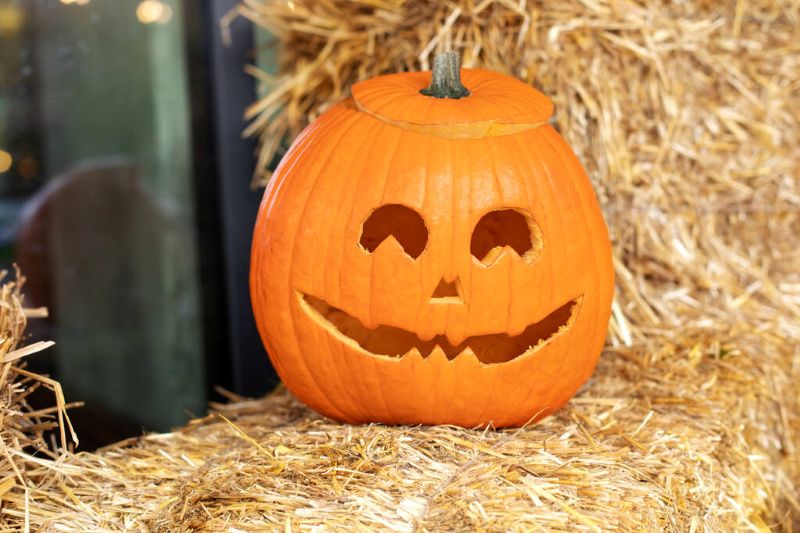
Daily Maintenance: Perfecting the Carved Edges
Carving a pumpkin instantly exposes its soft, nutrient-rich interior, accelerating decay dramatically. The edges are the most vulnerable zones, as they are where the bacteria first latch onto the exposed cells. For carved pumpkins, the treatment must be stronger and applied regularly.
The Carved Pumpkin Spritz Solution (The 1:1 Ratio)
Since the pumpkin is already compromised, we need a far more concentrated solution applied directly to the problem areas. This stronger mixture provides a quick, effective sanitation punch every day.
The Recipe:
- 1 part white distilled vinegar.
- 1 part water.
(Example: 1 cup vinegar mixed with 1 cup water, placed in a clean spray bottle.)
Step-by-Step Spritzing Instructions:
- Clean the Interior (Initial Step): After carving, scoop out every loose strand of pulp and dry the interior walls as much as possible using a paper towel. The cleaner and drier the inside, the better the vinegar can work.
- Apply the Initial Treatment: Use the 1:1 solution to generously spray the entire carved face, focusing intensely on the cut edges and the interior walls.
- Daily Maintenance: To ensure maximum longevity, this treatment must be repeated every day.
- If you notice any visible mold spots inside, wipe them away gently before spraying.
- Thoroughly spritz the cut edges of the eyes, nose, and mouth, as well as the cut lid.
- Allow the vinegar to air dry completely before replacing the lid or returning the pumpkin to its designated spot.
Tip for Extreme Longevity: Once the vinegar has thoroughly dried, consider applying a thin layer of petroleum jelly or cooking spray to all cut edges. This creates a secondary physical barrier against moisture loss (dehydration) and oxidation, locking the vinegar’s protective work in place.
Bonus Benefit: Natural Anti-Critter Defense
In addition to its anti-microbial prowess, vinegar offers an invaluable secondary benefit for outdoor displays: deterring pests.
Squirrels, raccoons, and even neighborhood deer are often attracted to the sweet, soft flesh of carved pumpkins. However, these animals are highly sensitive to strong odors. The potent scent of acetic acid is highly repulsive to them, making them far less likely to sample your festive décor.
Application for Pest Control:
When using the 1:1 solution (for carved pumpkins) or even the milder 1:10 solution (for whole gourds), focus the spray not just on the face, but on strategic areas:
- The Base: Spray generously around the bottom rim of the pumpkin and the immediate area of the pedestal or surface it rests on.
- The Stem: Critters often approach the pumpkin from the top, so ensure the stem and surrounding shoulder area are coated.
- The Interior: If using the spray on a carved pumpkin, the constant release of the vinegar scent from the inside will bolster deterrence.
Important Note: Vinegar is a powerful deterrent because of its smell, which usually fades as it dries. Reapplication, especially after rain, is necessary to keep the scent barrier effective against persistent pests.
Beyond Vinegar: Essential Supplementary Tips
While vinegar is a fantastic defense, maximizing the life of your pumpkin requires a multi-pronged approach combining sanitation, maintenance, and strategic placement.
1. Choose Wisely
Select a pumpkin free of soft spots, bruising, or deep cuts. A perfectly healthy rind is the best defense against initial microbial invasion. Always carry the pumpkin by cradling the base, not by the stem, as a broken stem leaves a large open wound.
2. Cleanliness is Key
When carving, use clean, disinfected tools. Transferring germs, spores, and bacteria from old carving kits or dirty surfaces directly into the nutritious pumpkin flesh is one of the fastest ways to initiate rot. A quick wipe down of tools with a vinegar solution or rubbing alcohol is recommended before you start.
3. Location, Location, Location
Where you place your pumpkin dramatically affects its lifespan.
- Avoid Direct Sunlight: Sunlight accelerates dehydration and heats the interior, creating optimal conditions for mold growth.
- Avoid Wet Areas: Constant exposure to rain or sprinklers washes away the protective vinegar barrier and introduces fresh moisture, rapidly accelerating spoilage. A covered porch is ideal.
- Keep it Cool: The cooler the temperature, the slower the microbial activity.
4. Ditch the Candle
Traditional wax candles generate internal heat, essentially baking the inside of the pumpkin and drying out the edges, while also encouraging bacterial growth. Switch to battery-operated LED lights or flameless candles. They provide the perfect ambient glow without the destructive heat.
By integrating vinegar—the ultimate natural sanitizer and deterrent—into your autumn décor routine, you ensure that your festive creations remain vibrant and intact, celebrating the spooky season long past Halloween night.